Hello everybody, it’s Louise, welcome to our recipe page. Today, we’re going to make a special dish, authentic homemade miso. One of my favorites. For mine, I am going to make it a bit tasty. This will be really delicious.
Authentic Homemade Miso is one of the most well liked of recent trending meals on earth. It’s enjoyed by millions every day. It’s simple, it is fast, it tastes delicious. They’re fine and they look fantastic. Authentic Homemade Miso is something which I’ve loved my whole life.
If you're looking to make authentic Japanese miso soup, you will have to use dashi as the. If you love miso soup, try making your own delicious miso soup at home with tasty cubes of tofu and seaweed. This simple recipe is an authentic version of the classic miso soup you'll find served in Japanese restaurants.
To begin with this recipe, we must first prepare a few components. You can have authentic homemade miso using 4 ingredients and 19 steps. Here is how you can achieve it.
The ingredients needed to make Authentic Homemade Miso:
- Get 1 kg Soy beans
- Make ready 1 kg Koji (dried or fresh)
- Get 500 grams Salt
- Get 2 Red chili peppers (optional)
We just got back from an amazing family trip to Asia, and I'm excited to share a yummy miso soup recipe we learned while we were there! I couldn't believe how much it tasted just like the best miso soups we ate in Japan the first time I made it once we got back home. Making your own homemade miso from scratch is fun and is not hard to make. It is totally worth the effort and time!
Steps to make Authentic Homemade Miso:
- Rinse the soy beans, then soak them in plenty of water overnight (for a 24 hour period). The soy beans will triple in size from rehydrating, so be sure to use a large pot.
- Here is what they should look like after soaking. Depending on the soy bean, scum may appear, but without removing the scum, set the pot to boil (do not refresh the water).
- Bring to a boil over high heat, then reduce to the lowest setting. Skim the scum and simmer until the soy beans can be slightly crushed between your fingers (this should take anywhere from 3 to 8 hours).
- This is how it should look after skimming off the scum from the surface. Do not bother to remove it too carefully; just skim enough to remove the majority of it.
- Test by crushing a soy bean between your fingers, and if it can be slightly crushed, turn off the heat, cover with a lid, then let sit overnight.
- Return the pot to heat and simmer for about 30 minutes over low heat. They are now ready to be turned into miso.
- Prepare the necessary ingredients and equipment: 2 bowls or pots, a 10-liter pickling tub, 2 large food-grade plastic bags, and a potato masher.
- While simmering the soy beans, break up the koji into small pieces, then combine with the salt.
- Line the pickling tub with a double layer of the food-grade plastic bags.
- Mash the soy beans (to your desired consistency) with a potato masher while still hot . Do not discard the boiling water from the soy beans.
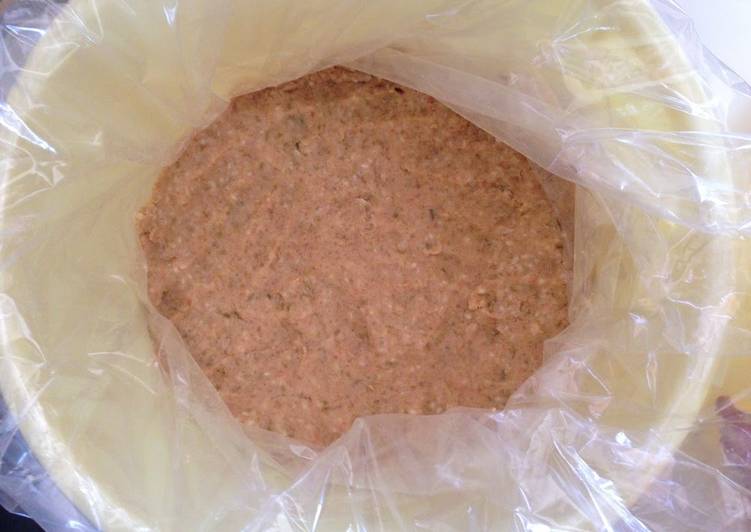
- This is what the soy beans look like after they are mashed (I mashed them to a miso-like consistency). For easy mashing, use a meat grinder, if available.
- Once the soy beans have cooled to the touch, mix in the koji. Then, mix in the boiling water from the soy beans until the consistency resembles miso paste.
- Pack the miso into patties, as though making hamburger patties, while pressing out any air pockets.
- Slam the miso patties into the tub as hard as you can, and after several handfuls, press out the air and level the surface, then repeat.
- Level the surface while pressing out the air, and very lightly sprinkle with salt.
- To the extent possible, press the excess air from the inner bag and tie it closed with string.
- Place a drop lid on top, then weigh the miso down with a weight equivalent to the weight of the beans. If you don't have a weight, use a bag of salt. The key is to press down on the miso with substantial weight.
- Press out any air, and secure the outer plastic bag with a string. If you have red chili peppers, place them inside the outer bag to inhibit mold growth. You could also use shichimi (7 season chili spice mix) spice.
- Cover the outside of the bucket to prevent dust from entering. Store it in a cool, unheated environment. Every 2 months, stir it up, and taste until it reaches the desired degree of fermentation.
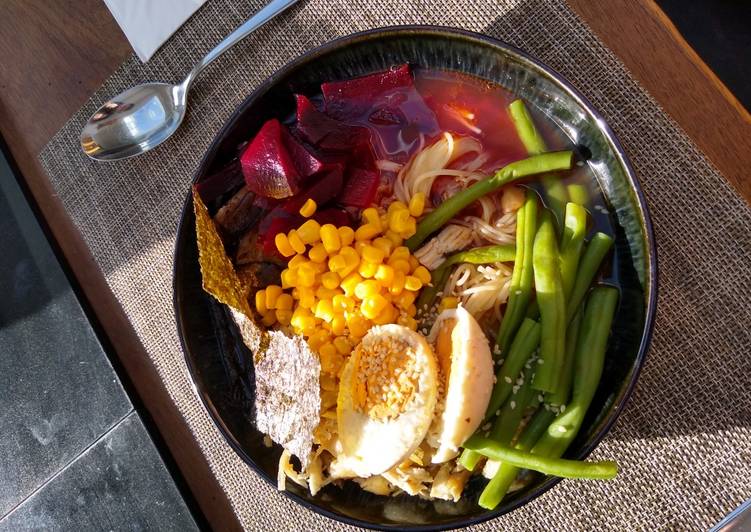
Please note: toppings are optional and their recipes can be found in the hyperlinks. Chashu and Ramen Eggs require to prep one day before. You can use yellow, white, or red miso paste for the soup, depending on your preference. You will also need dashi, which is made of dried kelp (seaweed) and dried bonito (fish), and can be purchased in granules or powder form in conveniently-sized jars. My simple step-by-step instructions on How to Make Miso will guide you through this process.
So that is going to wrap it up with this special food authentic homemade miso recipe. Thank you very much for reading. I’m confident you will make this at home. There is gonna be more interesting food in home recipes coming up. Remember to bookmark this page in your browser, and share it to your family, friends and colleague. Thanks again for reading. Go on get cooking!